
Understanding Vapor Barrier Installation
What is a Vapor Barrier?
A vapor barrier is a crucial material in construction and home maintenance, primarily designed to limit moisture transfer between areas—specifically between the interior of a home and the crawl space or foundation. This barrier functions by blocking damp air and moisture-laden vapors from entering living spaces, thus preventing water damage, mold growth, and structural deterioration. Commonly made from polyethylene plastic, vapor barriers serve as a shield that protects vital parts of a home, ensuring a healthier indoor environment.
Importance of Vapor Barrier Installation
The installation of a vapor barrier is essential for several reasons. First, it maintains the indoor air quality by reducing excessive humidity levels that can lead to allergic reactions or respiratory issues. Additionally, a vapor barrier prevents condensation that can damage insulation materials and even lead to structural problems over time. An effective vapor barrier can also enhance energy efficiency, as it keeps conditioned air inside and prevents the infiltration of unwanted cold or hot air. Overall, using a vapor barrier is a proactive measure in safeguarding your property against moisture-related problems.
Types of Vapor Barriers
Vapor barriers are categorized based on their permeability and material composition. The most common types include:
- Polyethylene Sheets: These are the most widely used vapor barriers due to their effectiveness and affordability. Typically available in thicknesses of 6-mil to 20-mil, the thicker the sheet, the more protection it offers.
- Foil Barriers: These reflective materials not only block moisture but also reflect radiant heat, making them suitable for areas with extreme temperatures.
- Liquid Membranes: Applied as a coating, these barriers create a seamless, protective layer over surfaces, ideal for irregularly shaped areas.
Preparing for Vapor Barrier Installation
Assessing Your Crawl Space
Before installing a vapor barrier, it’s vital to conduct a thorough assessment of your crawl space. Look for signs of moisture intrusion, such as puddles, damp spots on walls, mold or mildew, and rusting on metal components. Assess the accessibility, as a tight crawl space may require specialized tools or professional help. Ensuring good drainage in the surrounding landscape can also aid in the overall effectiveness of the vapor barrier once installed.
Gathering Necessary Tools and Materials
Proper preparation involves gathering the right tools and materials for the job. Essential tools typically include:
- A utility knife or scissors for cutting
- A tape measure for accurate sizing
- Duct tape to secure joints and seams
- Staple gun for fastening the barrier to wooden beams
- Safety gear, such as gloves, goggles, and masks, especially in poorly ventilated areas.
Your choice of vapor barrier material should be aligned with your local climate and the specific conditions of your crawl space.
Safety Precautions Before Installation
Your safety is paramount when working in confined spaces. Always wear non-slip footwear and protective clothing. Ensure proper ventilation in the crawl space to avoid inhaling airborne particles or fumes. If mold growth is present, consider professional mold remediation services before proceeding with vapor barrier installation. Keeping your tools and materials organized will also help you to avoid accidents and ensure a smoother workflow.
Steps for Effective Vapor Barrier Installation
Clearing the Crawl Space Area
Starting with a clean work area is essential. Remove any debris, old insulation, or materials that could obstruct the installation. Ensure that pipes are in good condition and address any leaks before the vapor barrier is laid down. Clearing the space not only facilitates the installation process but also helps in better assessing the overall condition of the crawl space and identifying any areas that may need repairs.
Measuring and Cutting the Barrier
Once the area is clear, measure the dimensions of the crawl space carefully, including any nooks and crannies where the vapor barrier will need to fit. It’s advisable to add a few inches to your measurements to ensure complete coverage. When cutting the polyethylene sheets, utilize a utility knife for straight, clean edges to minimize gaps where moisture can enter.
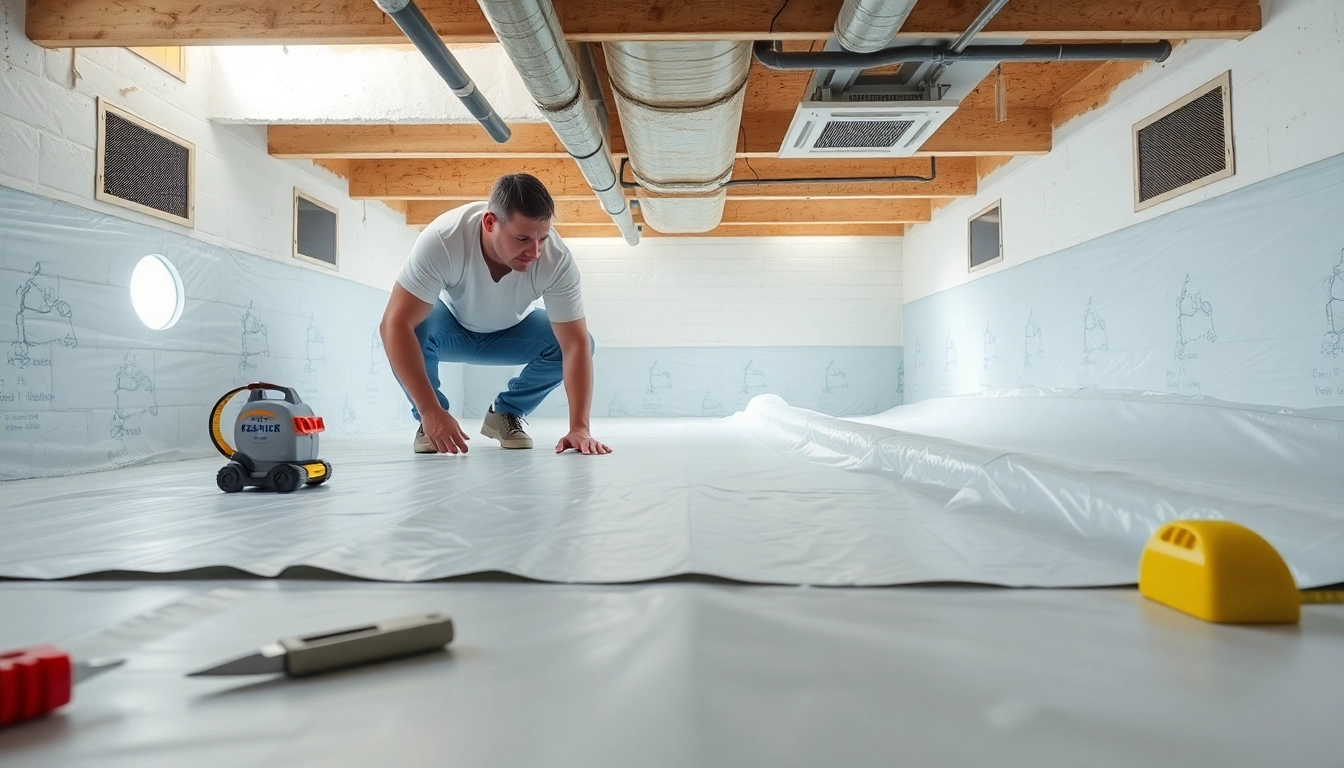
Securing the Vapor Barrier
With the vapor barrier cut to size, lay it out flat across the crawl space floor. Ensure that it overlaps walls and other barriers correctly, and use duct tape to seal any seams or joints thoroughly. For added security, staple the barrier to any wooden beams or structural elements. This step is crucial to ensure that the moisture barrier remains effective over time.
Common Challenges in Vapor Barrier Installation
Dealing with Moisture Issues
Moisture intrusion is often a significant challenge in crawl space areas. If excess moisture persists even after the installation of a vapor barrier, consider installing a dehumidifier or an additional drainage system to manage humidity levels effectively. Regular monitoring and maintenance of the moisture levels are essential to mitigating future issues.
Handling Uneven Ground
Uneven terrain can complicate the vapor barrier installation. If you encounter hilly or bumpy ground, you may need to create a level surface using sand or gravel before laying the barrier. This will not only provide a more stable foundation for the barrier but also improve drainage in the crawl space.
Addressing Pests and Contaminants
Before installing your vapor barrier, it’s important to take steps to eliminate pests and contaminants from the crawl space. Use pest control measures to deal with rodents, insects, or mold, as these can compromise the effectiveness of the vapor barrier. Implementing a pest prevention plan as an ongoing practice will also contribute to long-term efficacy.
Maintaining Your Vapor Barrier
Regular Inspections and Maintenance
Post-installation, keeping an eye on your vapor barrier is essential for ensuring it continues functioning effectively. Schedule regular inspections at least once a year, or more frequently if you live in a humid or storm-prone area. Check for signs of wear, moisture accumulation, or any damages that might compromise its integrity.
Signs Your Vapor Barrier Needs Repair
Be alert for signs that indicate your vapor barrier may need attention. Common indicators include visible water stains on the barrier, the presence of mold or mildew, or a noticeable increase in humidity levels within your home. If you notice these issues, it might be time to perform repairs or even replace the barrier altogether.
Long-term Benefits of Proper Maintenance
Proper maintenance of your vapor barrier yields multiple long-term benefits. A well-maintained vapor barrier offers ongoing protection against moisture-related problems, contributes to better indoor air quality, and enhances energy efficiency over time. This proactive approach reduces the risk of costly repairs down the line and ensures the longevity of your home’s structural elements.
FAQs
What is a vapor barrier? A vapor barrier is a material used to prevent moisture from passing through walls, floors, and ceilings, protecting homes from water damage.
How do I choose the right vapor barrier? Select a vapor barrier with a low permeability rating that suits your climate and specific home needs. Consult a professional if unsure.
Can I install a vapor barrier myself? Yes, a homeowner can install a vapor barrier with the right tools and guidance, but professional installation ensures proper technique.
How often should I check my vapor barrier? Inspect your vapor barrier at least once a year and after heavy storms to ensure its effectiveness.
What are signs of a failing vapor barrier? Look for water stains, mold growth, or increased humidity levels inside your home, indicating potential vapor barrier issues.
For a more detailed guide on this important installation process, you can refer to the Vapor Barrier Installation services provided by professionals.